 Low MOQ OEM/ODM
 Free Digital Proof
 Phone:
A collar may look simple, but its performance depends on how the webbing, buckle, adjuster, D-ring, stitching, padding, logo, and size range work together. Buyers comparing custom dog collar materials should start with the intended use and retail position rather than selecting a fabric or buckle from a photo. A complete specification makes quotations more comparable and reduces changes after sampling.
Define the collar use case and customer
Record whether the collar is for everyday walking, fashion, training, outdoor use, puppies, small dogs, or a coordinated retail collection. Include the target neck-size range, expected dog weight, climate, price point, sales channel, and packaging format. These details guide width, thickness, hardware weight, adjustability, and decoration.
Start from a suitable custom dog collar construction, then identify which parts must change. A successful private label program normally modifies a proven base rather than combining unrelated components without testing.
Compare common collar materials
| Material | Typical advantage | Questions for the sample |
|---|---|---|
| Polyester webbing | Good color and print flexibility | Print clarity, edge feel, thickness, color consistency, and abrasion |
| Nylon webbing | Smooth hand feel and strong everyday construction | Weave density, dye consistency, moisture behavior, and edge finish |
| Cotton or canvas facing | Natural texture and lifestyle positioning | Shrinkage, colorfastness, backing structure, drying, and care |
| Coated waterproof webbing | Easy cleaning and a modern appearance | Flexibility, coating adhesion, odor, cold behavior, and scratch resistance |
| Padded construction | Softer contact and a premium feel | Bulk, seam placement, drying time, lining stability, and size grading |
Ask the supplier to identify every layer. A natural-looking outer tape may sit over structural webbing, while a printed fabric may wrap a core material. The finished assembly matters more than a generic material name.
Select a buckle that matches the design
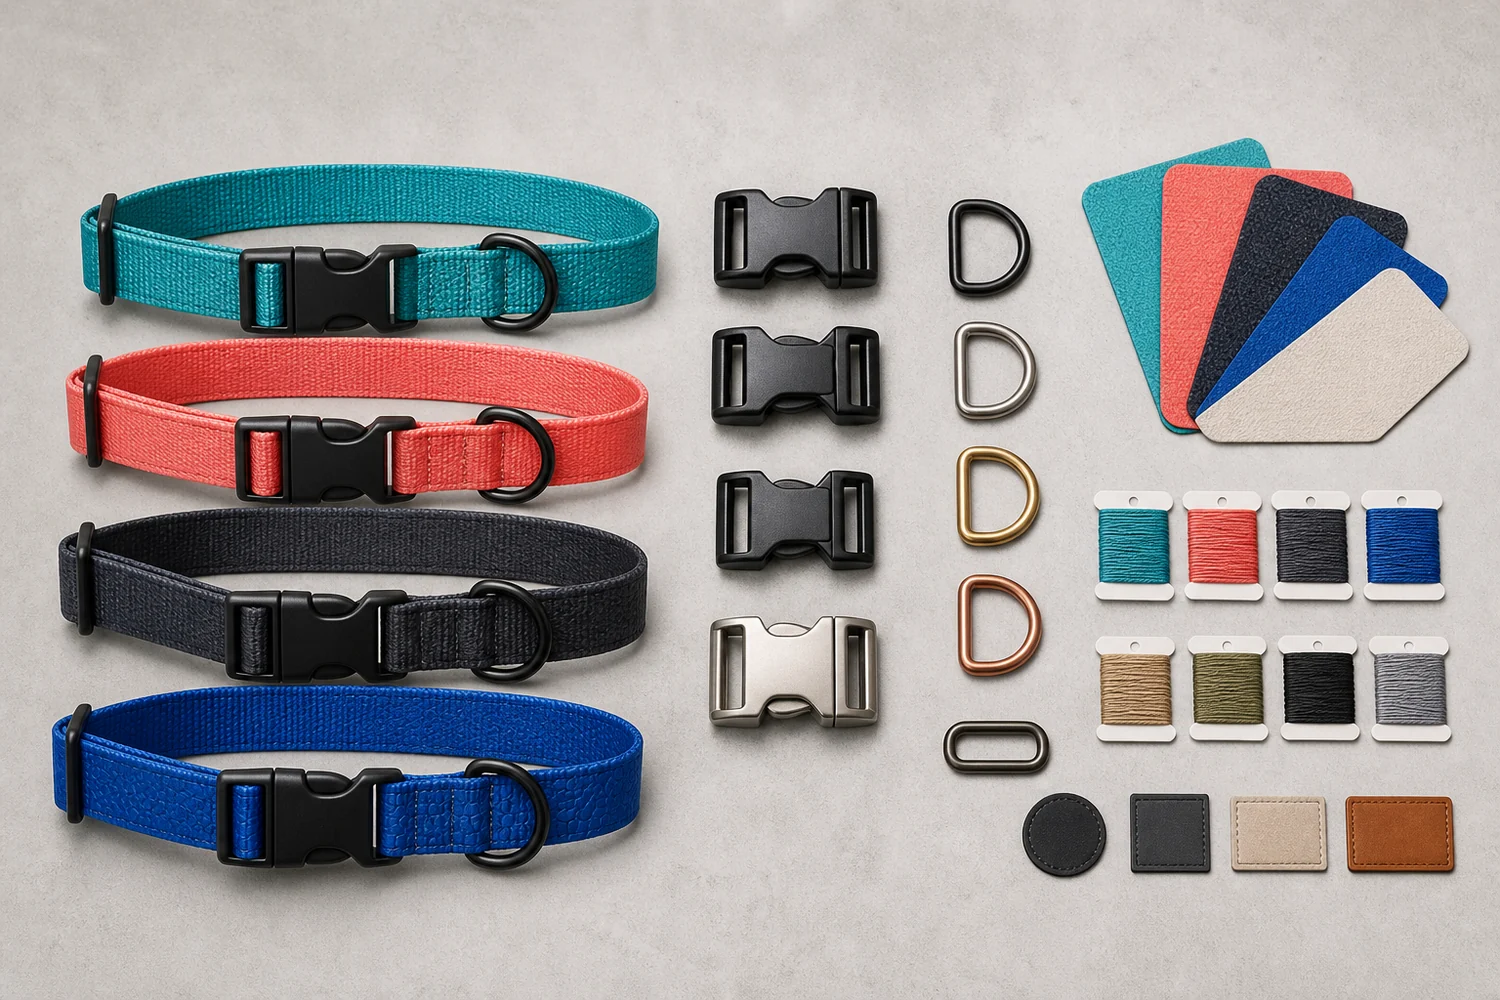
Plastic side-release buckles are lightweight, quiet, available in many colors, and cost-efficient for broad size ranges. Metal side-release buckles create a premium look but add weight and may affect cost, finish consistency, and suitability for very small sizes. Specialty safety or breakaway buckles serve different use cases and should not be substituted without clear product positioning.
Specify buckle material, dimensions, operating direction, color or plating, logo requirement, and opening force expectations. Review available collar hardware and attachment options with the adjuster and D-ring because mixed finishes or incompatible webbing widths can make an otherwise good sample look unfinished.
Match the D-ring, adjuster, and reinforcement
The D-ring should have the correct inner width for the webbing and enough clearance for intended leash hooks. Confirm wire thickness, weld condition, finish, edge smoothness, and placement. The adjuster should move during fitting but resist unwanted slipping during use.
Reinforcement can include box stitching, bar tacks, folded layers, or other approved methods. Record thread type, stitch pattern, stitch count range, overlap length, and allowable appearance. A strong individual ring does not prove that the complete collar assembly meets the project requirement.
Plan sizes as a graded system
For each size, define minimum and maximum neck circumference, finished width, webbing cut length, hardware size, and target product weight. Check overlap and folded layers at both adjustment limits. A collar should not become bulky at the smallest setting or expose too little webbing at the largest setting.
Use the same measurement method on samples, production inspection, packaging, and the consumer size guide. If the collar belongs to a matching line, coordinate its sizes and colors with the custom leash and custom harness range.
Choose a logo method for the material
Printed patterns can cover the full webbing, while woven labels, embroidery, rubber patches, epoxy domes, metal plates, or laser marking create distinct brand signals. The best method depends on the base material, logo detail, available area, wash requirements, order quantity, and target cost.
Provide vector artwork, finished logo dimensions, placement, color references, and orientation. Review color and printing options before sampling. Small logos should be tested at actual size because thin lines and tiny text may not reproduce as expected.
Build a practical sample and test plan
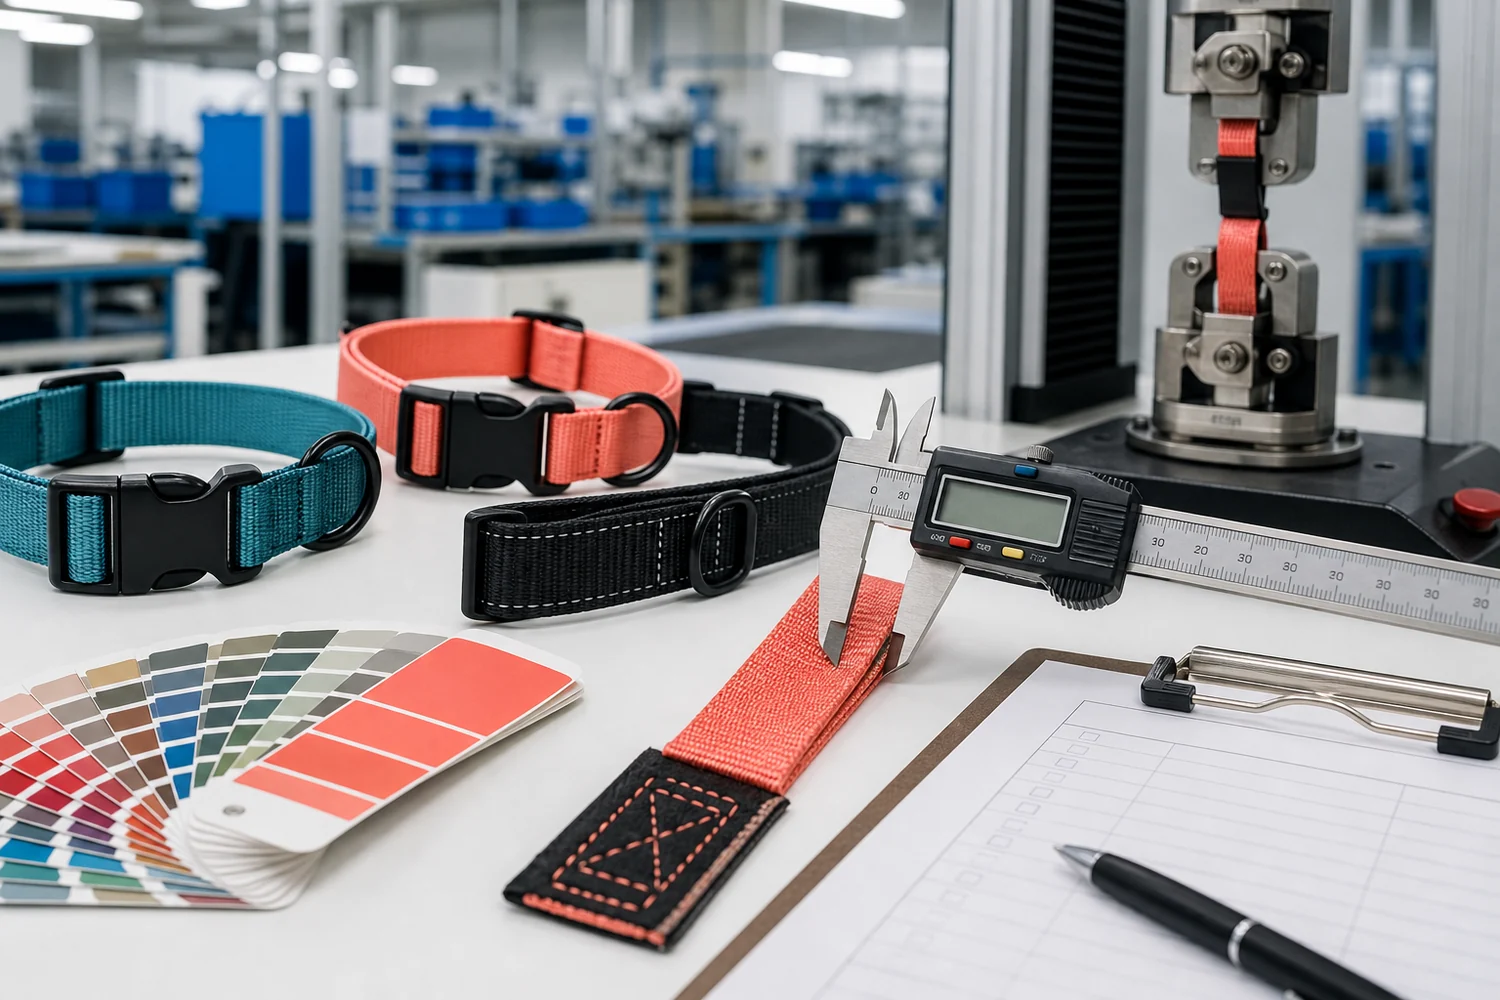
Inspect finished dimensions, adjustment range, hardware operation, stitching, print alignment, edge finish, odor, surface defects, and logo placement. Where performance testing is required, agree on the method, sample conditioning, load, duration, and acceptance criteria before production. Testing should reflect the complete assembled product.
Keep one approved sample and a signed specification as the control reference. The wider pet product quality control guide explains how to connect approvals to pre-shipment inspection.
Use a final collar specification checklist
- Finished neck range, width, thickness, and size grading
- Webbing layers, padding, edge finish, and approved color
- Buckle, adjuster, D-ring, finish, and operating requirements
- Stitch pattern, thread, overlap, reinforcement, and tolerances
- Logo method, dimensions, placement, packaging, and barcode
- Sample reference, inspection plan, destination, and delivery date
Request a comparable custom collar quote
Send quantity by size and color, material construction, width, buckle and ring specifications, logo files, packaging, destination, testing needs, and required delivery date. Review indicative quantities on the styles and pricing page, then request a custom dog collar quote with one complete brief. A detailed request lets the factory price the intended product instead of guessing at the specification.