 Low MOQ OEM/ODM
 Free Digital Proof
 Phone:


Quality control should translate an approved sample into measurable production standards. For buyers of collars, leashes, harnesses, and matching accessories, pet product quality control is most effective when the inspection checklist is agreed before bulk production, not written after a problem appears.
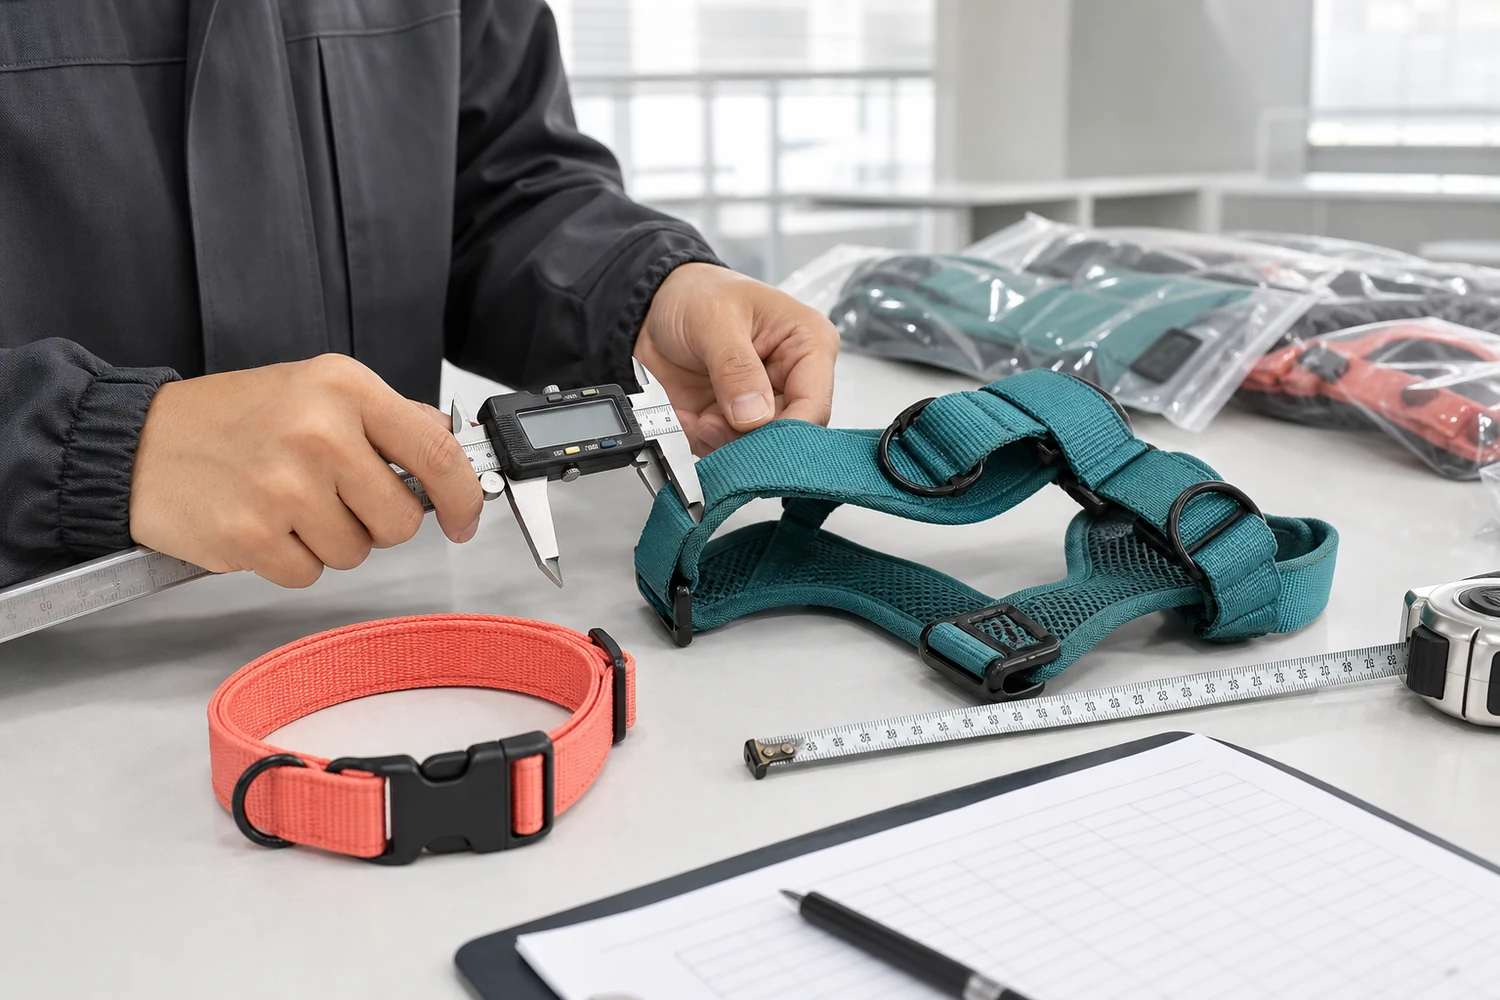
Define the inspection reference set
An inspector needs more than a purchase order. Prepare the approved pre-production sample, final specification, measurement diagram, size chart, Pantone or color references, logo artwork, packaging proof, barcode data, carton marks, and any buyer-specific test instructions. Every file should carry the final version date.
If the approved sample differs from the written specification, resolve the conflict before inspection. The factory, buyer, and inspector should all use the same reference.
Choose an inspection stage
Incoming material checks
Materials and components can be reviewed before assembly. This is useful for custom webbing, printed fabric, buckles, hooks, labels, and packaging that would be difficult to replace after production.
During-production inspection
An in-process check can identify repeated sewing, measurement, color, or assembly problems while there is still time to correct them. It is especially useful for a first order, a complex harness, or a collection with many SKUs.
Pre-shipment inspection
The final inspection is performed when production is complete and most goods are packed. It confirms quantity, assortment, appearance, dimensions, function, packaging, and carton information before shipment is released.
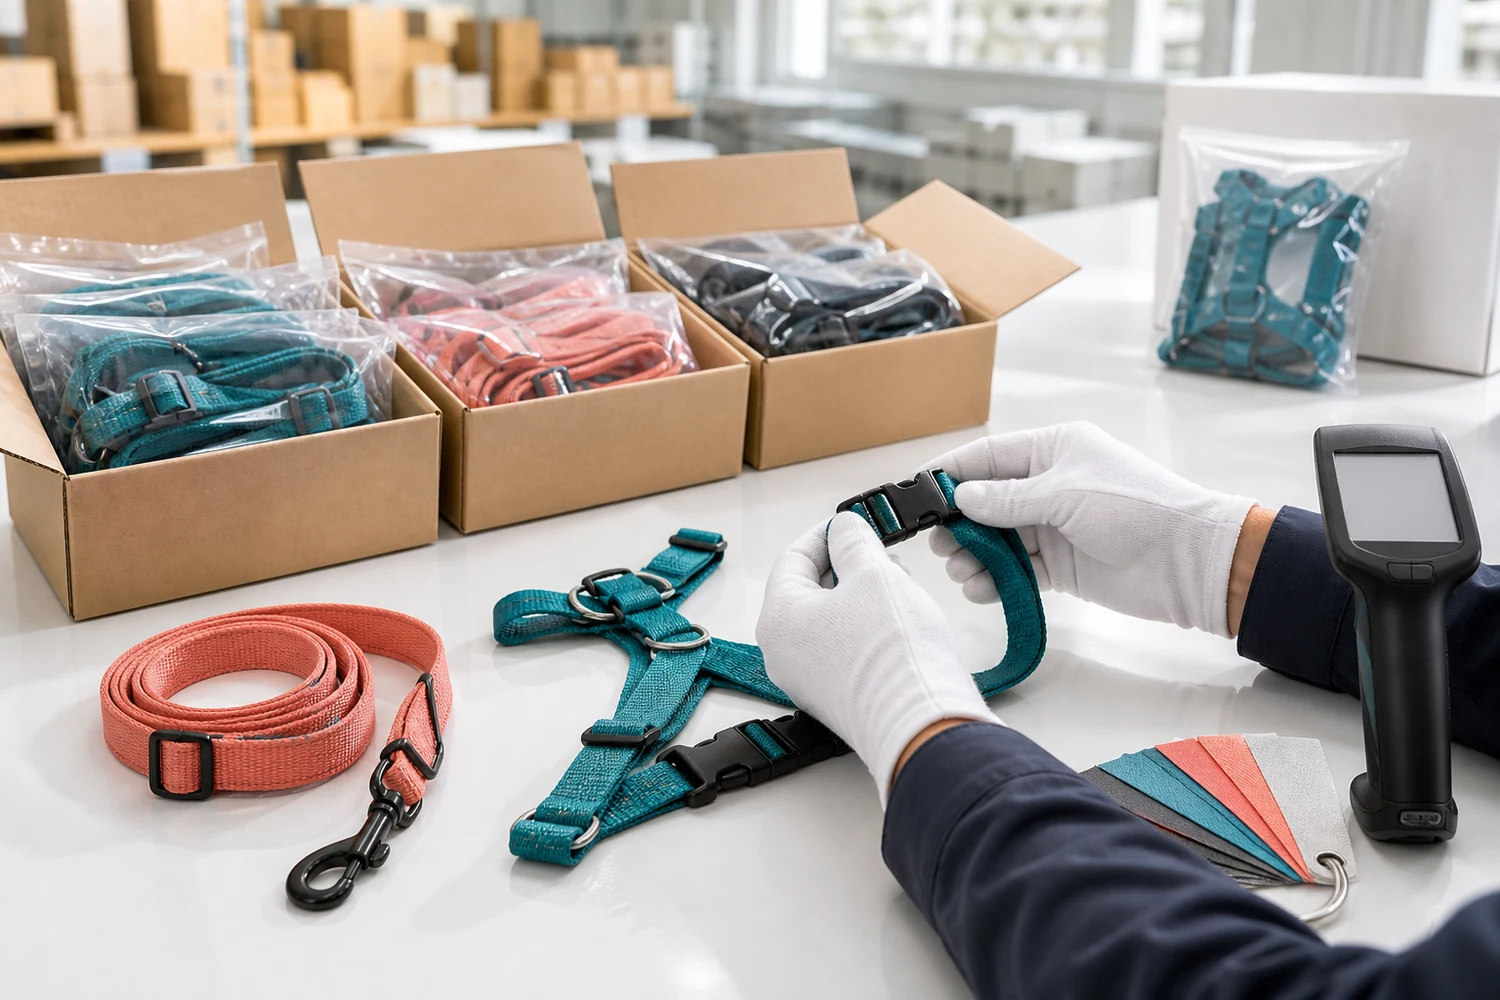
Confirm quantity and assortment first
Count finished units by product, color, size, logo version, and package type. Compare the actual assortment with the purchase order. A shipment can have the correct total quantity while still containing the wrong size ratio or color split.
Verify inner-pack quantities, units per carton, carton count, and any category sorting. Random cartons should be selected from different areas of the finished shipment rather than only from cartons prepared for display.
Measure the product consistently
| Product | Typical measurement points |
|---|---|
| Collar | Finished length, usable adjustment range, width, buckle position, D-ring position |
| Leash | Finished length, webbing width, handle opening, hook size, accessory placement |
| Harness | Neck opening, girth range, chest panel, back length, strap spacing |
| Bandana | Width, height, tie length, hem width, print position |
| Poop bag holder | Body dimensions, opening, zipper length, attachment loop |
Measure using the approved diagram and tolerance. The method matters: a stretched elastic strap and a relaxed strap will produce different results. Record the condition and tool used.
Inspect stitching and construction
- Correct stitch type, color, density, and reinforcement pattern
- No skipped stitches, broken threads, open seams, or excessive loose ends
- Webbing ends are sealed or finished according to the specification
- Bindings lie flat without twisting or creating rough contact areas
- Layers are aligned and symmetrical where required
- Stress points match the approved reinforcement sample
For padded or mesh products, check that seam bulk does not create hard edges. For printed items, review whether pattern direction and placement are controlled or intentionally random.
Check hardware function and assembly
Open and close buckles, move adjusters, rotate leash hooks, and inspect D-rings and connectors. Hardware should be the approved type, size, color, and finish. Components must be assembled in the correct orientation and should not have sharp edges, incomplete closure, visible cracks, plating defects, or unexpected stiffness.
Functional checks should be appropriate to the intended product and agreed standard. A casual hand pull is not a substitute for a defined strength or cycle test where one is required.
Verify colors, logos, and labels
Compare fabric, webbing, thread, hardware, print, and packaging with approved physical or documented references. Review color across several cartons because variation may occur between material lots.
Check logo method, dimensions, placement, orientation, spelling, and color. Labels should show the approved brand name, size, care information, composition, and other required details. Scan sample barcodes to confirm that the printed code is readable and linked to the correct SKU.
Review appearance and cleanliness
Look for stains, oil marks, dust, odor, scratches, dents, print defects, uneven edges, glue residue, rust, and foreign material. The acceptable standard should consider the product position and normal manufacturing characteristics, but visible defects that affect use or presentation should be classified consistently.
Inspect packaging and cartons
Confirm product folding, protective materials, inserts, hang tags, warnings, suffocation notices where applicable, barcode labels, and retail presentation. Check that the package protects the item without bending hardware or permanently creasing padded panels.
Master cartons should have correct dimensions, gross and net weight, quantity, shipping marks, destination details, and carton numbering. Randomly check carton condition and sealing.
Use a defined sampling and defect system
Buyers often use an AQL-based sampling plan, but the inspection level and acceptable limits should be agreed for the order. Define critical, major, and minor defects with product-specific examples. A broken load-bearing component may be critical, while a small cosmetic mark in a hidden area may be classified differently.
The report should include inspected quantities, findings by SKU, measurements, photos, test results, defect classification, and a clear pass, fail, or pending decision.
Do not release shipment without closing issues
If inspection fails, agree on sorting, rework, replacement, or reinspection. Request evidence that corrective action covered all affected production, not only the units shown in photos. Update the specification or production checklist when the issue reveals an unclear requirement.
Build quality requirements into the quote
Share inspection expectations, testing standards, reference samples, and documentation needs before ordering. This allows the supplier to plan materials and production around the required result. Review hardware and logo options while preparing the specification, then start a custom quote with your quality and delivery requirements included.