 Low MOQ OEM/ODM
 Free Digital Proof
 Phone: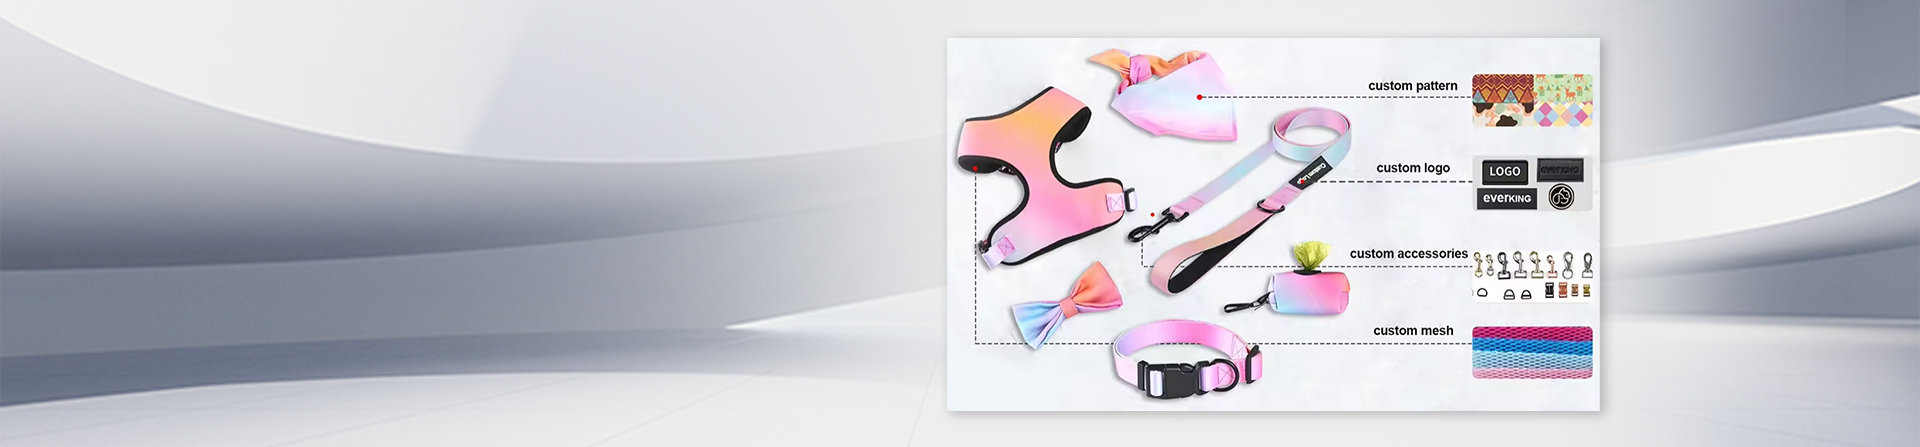
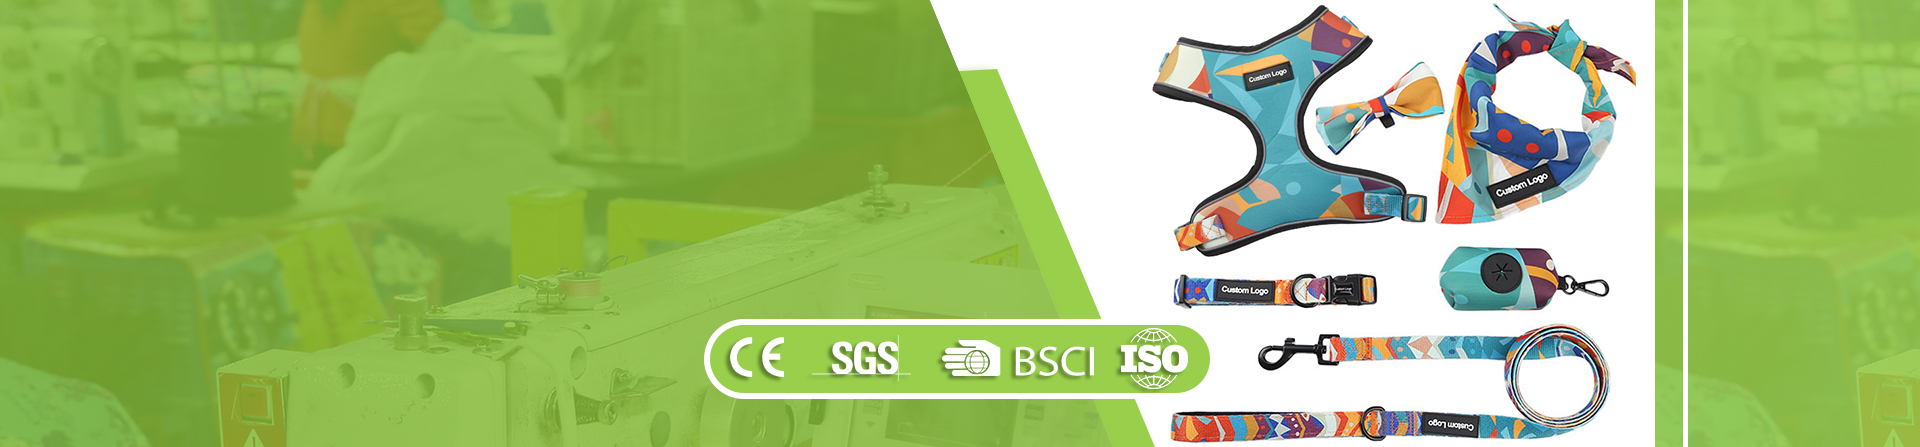
A sample is where a product brief becomes something your team can touch, fit, photograph, and approve. For private label buyers, custom pet accessory samples reduce uncertainty before money is committed to bulk production. The process works best when every sample has a clear purpose and every revision is recorded.
Start with a sample-ready factory brief
A vague request such as "make this harness in our colors" leaves too many decisions open. A sample-ready brief should identify the product style, size range, material, color references, hardware, logo method, packaging, target quantity, and intended market. It should also explain which details are fixed and where the supplier may recommend alternatives.
Use the styles and prices page to select a starting construction. Then add reference images, logo artwork, and notes about the customer. A boutique fashion line may prioritize color and presentation, while an outdoor walking collection may focus on weight, reflectivity, and cleaning.
The main stages of pet product sampling
1. Feasibility and specification review
The supplier reviews whether the requested materials, logo, colors, sizes, and order quantity can work together. This is the right time to identify custom tooling, color minimums, unavailable components, or a deadline that needs adjustment.
2. Digital mockup
A mockup confirms general color placement, pattern scale, logo position, and packaging direction. It is useful for alignment, but it is not proof of exact color, texture, print sharpness, or fit. Approve it as a design guide, not as a replacement for a physical sample.
3. Material and color review
Webbing, neoprene, mesh, printed fabric, thread, hardware, and labels can look different under real lighting. When color is important, compare physical swatches or a printed strike-off with your approved reference. The custom color options page is a useful starting point for organizing this discussion.
4. Prototype or fit sample
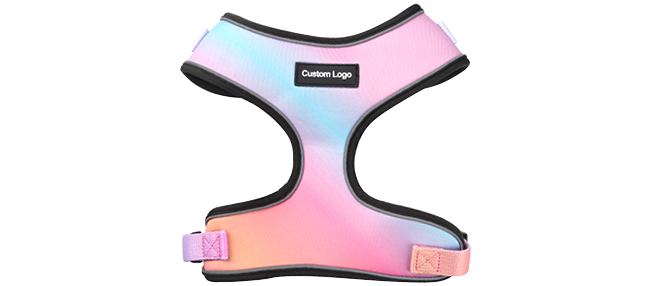
The prototype tests construction and usability. For collars and leashes, review adjustment, hand feel, hardware movement, and stitching. For harnesses, check how the neck opening, chest panel, girth straps, and adjustment range work together. For bandanas and bow ties, review drape, attachment, and the way the logo sits when worn.
5. Pre-production sample
A pre-production sample should represent the approved bulk specification as closely as practical. It becomes the reference for color, materials, logo, dimensions, workmanship, and packaging. Both buyer and supplier should keep clear photos and written approval notes.
What to measure on the sample
| Review area | What to record |
|---|---|
| Dimensions | Measurement points, tolerances, adjustment range, and size labels |
| Materials | Composition, thickness, hand feel, stretch, and approved color |
| Hardware | Type, size, finish, operating feel, and compatibility with strap width |
| Logo | Method, dimensions, color, placement, orientation, and edge quality |
| Construction | Stitch pattern, reinforcement, seam finish, and loose-thread standard |
| Packaging | Fold, insert, hang tag, warning text, barcode, and carton quantity |
Review fit across the complete size range
Approving one medium sample does not automatically validate every size. Size grading changes strap lengths, panel proportions, hardware scale, and the usable adjustment range. Ask for a measurement chart that shows where each dimension is taken. If the product has a complex fit, consider testing more than one size before bulk production.
Fit feedback should be specific. Instead of saying "the chest is too loose," record the pet measurements, sample size, strap setting, and the area that needs adjustment. Photos from the front, side, top, and underside can make revisions easier to understand.
Approve the logo on the real material
Screen printing, heat transfer, embroidery, woven labels, rubber patches, laser marking, and metal plates behave differently. Fine lines that look clean in vector artwork may fill in during embroidery or lose contrast on textured webbing. Review minimum line thickness, logo size, background color, and placement on the actual product.
Explore available logo and attachment options before the sample is made. Changing the logo method after a prototype is approved can affect cost, lead time, placement, and minimum quantity.
Control revisions with one approval record
Scattered feedback across chat messages creates avoidable mistakes. Use one revision list with numbered comments and reference photos. Mark every item as approved, revise, or pending. When a new sample arrives, compare it against the previous list rather than starting the review from memory.
Once the sample is approved, identify it as the master or golden sample. Record the approval date and final specification version. Any later substitution in material, hardware, color, or packaging should be communicated before production.
Plan sampling time inside the launch calendar
A realistic schedule includes brief review, material sourcing, sample construction, transit, buyer review, revisions, final approval, production, inspection, and shipping. Seasonal launches need extra room because custom colors, printed materials, packaging, or holiday factory schedules can add time. Share the required in-hand date at the beginning, not after sampling starts.
Send a quote-ready sample request
Include product style, quantities, sizes, colors, logo files, material preferences, packaging, destination, and target date. Note whether you need a design mockup, a fit prototype, a sales sample, or a pre-production reference. Request a custom pet accessory quote and attach your artwork or reference images so the sampling path can be planned around your project.